
The Five Vowel Sounds That Change Everything
Most international students struggle with the same five vowel sounds. Learn the mouth positions and tongue placements that native speakers use automatically.
Read MoreThe single most effective way to hear what native speakers hear—and fix the issues nobody tells you about.

Here’s the problem: you can practice for months, feel like you’re improving, and still have no idea if you actually sound better. Your teacher nods encouragingly. Your classmates are polite. But you’re flying blind.
The gap between what you think you sound like and what you actually sound like? It’s massive. We all have an internal voice—the one that sounds perfectly clear to us—but that’s not what everyone else hears. Recording yourself bridges that gap. It’s not comfortable. But it works.
This guide walks you through exactly how to use self-recording as a serious practice tool. Not just pressing play on your phone—actual structured recording that reveals what you need to fix.
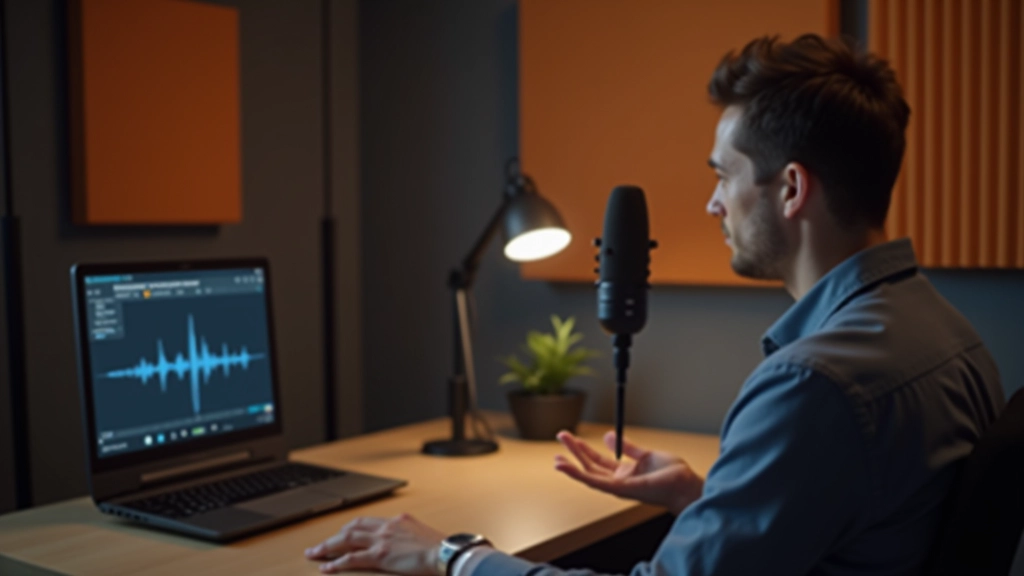
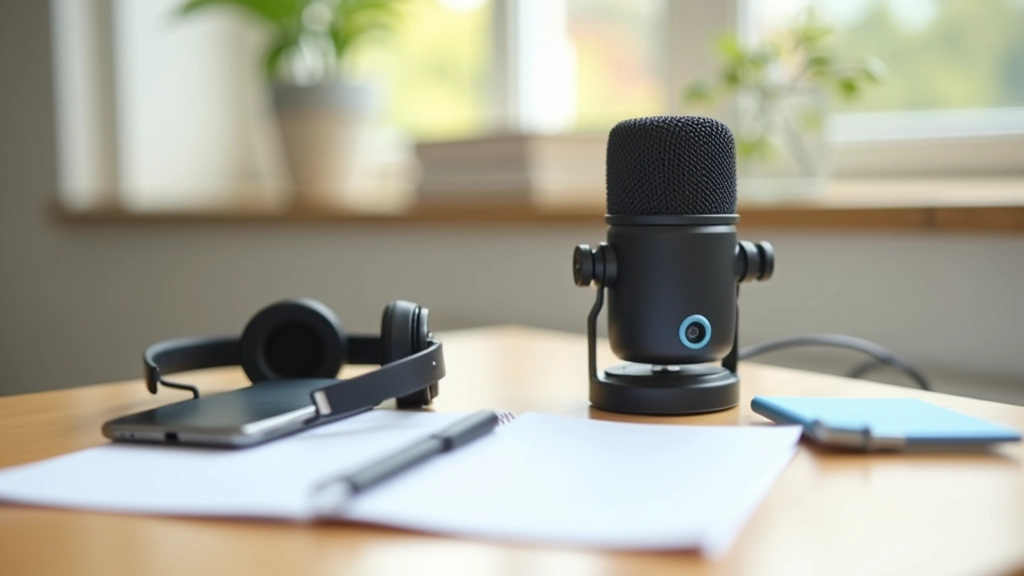
You don’t need fancy equipment. Seriously. A smartphone with a voice memo app is enough to start. But you’ll get better results with a USB microphone (around $30-50)—they pick up clarity that phone mics miss, and that clarity is what helps you hear your own mistakes.
What you need:
The most common mistake? Recording in noisy spaces and then blaming yourself for unclear pronunciation. Get quiet. Let the microphone catch what you’re actually doing.
Don’t just hit record and ramble. Structure matters. Here’s what works:
Don’t record full conversations. Pick one sound or word pair that troubles you. If you struggle with “th” vs “s” (think vs sink), record just those words. Five repetitions each. One minute max. This focused approach lets you hear the specific problem clearly.
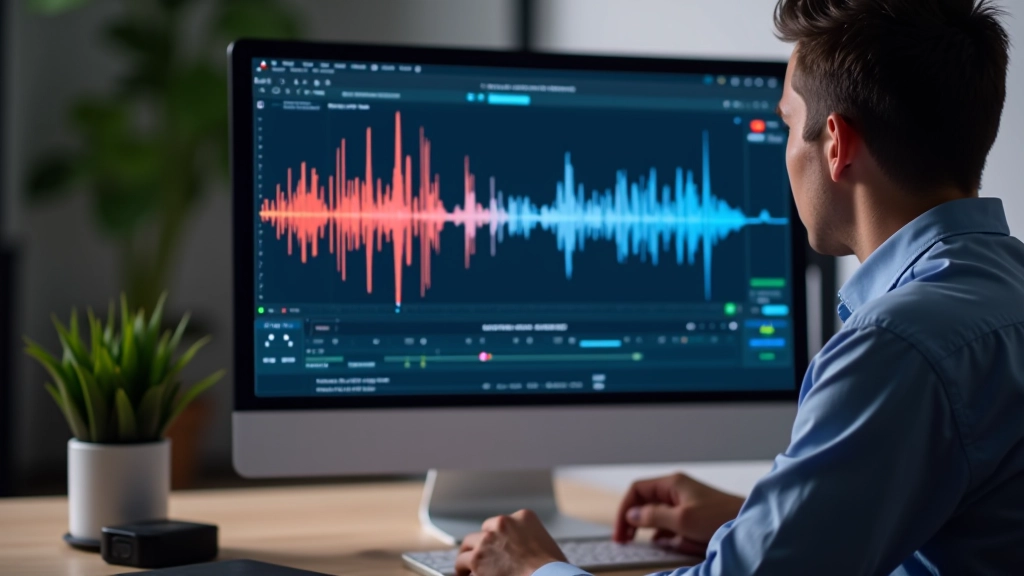
Wait at least 30 minutes before listening. This matters more than you’d think. Your brain’s still in “speaking mode”—it fills in gaps and corrects your mistakes automatically. After a break, you’ll hear what’s actually there. Listen through good headphones. Play it back twice.
Find a native speaker saying the same word or sound. YouTube, pronunciation websites, or language apps have audio samples. Listen to theirs. Then yours. Again. What’s different? Is your vowel too long? Does your mouth position change mid-sound? Write it down. Specific observations beat vague feelings.
When international students first record themselves, common discoveries include:
Vowel length: You’re holding vowels longer than native speakers. This makes you sound more formal or even unclear. Record the word “bed”—does yours sound like “beeeed”?
Stress patterns: English stresses certain syllables. If you stress the wrong syllable, the word becomes unrecognizable. “PREsent” (noun) vs “preSENT” (verb). You’re probably hitting every syllable equally.
Consonant clarity: Consonants at the end of words get swallowed. “Test” becomes “tes.” “Stopped” becomes “stopt.” Native speakers barely move their lips for these—you might be over-articulating or under-articulating.
The recordings don’t lie. They show exactly what’s happening. That’s uncomfortable. It’s also the fastest path to real improvement.
Recording once doesn’t change anything. You need consistency. Here’s a routine that works:
After 4-6 weeks of this, you’ll notice something: you start hearing your own mistakes before you finish speaking. That’s the goal. Self-awareness becomes automatic.

You don’t need to buy anything, but these tools make recording easier:
Voice Memos (iOS), Google Recorder (Android), or Audacity (desktop). All free. Audacity is more powerful for detailed playback and speed adjustment.
Audio-Technica AT2020 USB ($100), Blue Yeti ($60-100), or even a $20 desktop USB mic. Bigger budget isn’t necessary—consistency is.
Forvo.com has native speaker pronunciations. YouTube channels like Rachel’s English show mouth position. Dictionary.com has clear audio samples.
Conversation partners, language exchange apps, or tutors can listen to your recordings and provide specific feedback on what you’re hearing.
Recording yourself won’t feel natural. The first time you hear your voice played back, you’ll probably think “That’s not me.” Your recorded voice always sounds different from what you hear internally—that’s physics, not a problem.
But that uncomfortable moment? That’s where growth happens. You can’t fix what you can’t hear. Recording makes it audible.
Start this week. Pick one sound. Record yourself five times. Listen back. Compare to a native speaker. Write down one specific difference. Then do it again next week with a different sound.
After two months, you’ll have 8-10 recordings showing clear progress. That’s proof. That’s motivation. That’s how pronunciation actually improves.
Ready to try this method? Grab your phone, find a quiet spot, and hit record. Your future clearer accent is waiting.
This article provides educational information about pronunciation practice methods. Results vary based on individual effort, consistency, and existing pronunciation foundation. Recording yourself is one tool among many—pair it with formal instruction, conversation practice, and listening exposure for best results. If you’re working with a pronunciation teacher or language coach, discuss this method with them to ensure it complements your overall learning plan.